Most support teams know which metrics matter. The problem is pulling them together without spending hours in spreadsheets. This guide walks through exactly how to track AHT, FCR, CSAT, and agent utilization inside LiveAgent — from dashboard setup to automated monthly reports. For context on industry benchmarks, see the full overview of call center benchmarks 2026.
1. Which call center metrics actually matter (and which are vanity)
Not every number on your dashboard deserves attention. Vanity metrics look good in reports but don’t tell you where performance breaks down. Focus on metrics that drive a decision or trigger an action.
The five metrics with the most direct impact on call center performance are:
Average Handle Time (AHT) — signals efficiency and agent training gaps
First Call Resolution (FCR) — the single strongest predictor of customer satisfaction
CSAT — direct feedback from the customer after each interaction
Agent Utilization — shows whether your team is over- or under-capacity
First Response Time — impacts customer perception before the issue is even resolved
Skip metrics like total call volume or number of tickets closed unless they’re connected to a specific goal. Volume without context is noise. The sections below cover exactly how to pull each of the five metrics above from LiveAgent. For a deeper look at what these numbers should look like, refer to the call center statistics article.
2. How LiveAgent tracks average handle time (AHT)
LiveAgent calculates AHT automatically for calls. It measures the total time from when a call is answered to when it ends, including any wrap-up time logged in the system.
Where to find it:
Log in to LiveAgent and navigate to Reports in the left sidebar.
Select Call Reports.
Open the Average Call Duration report.
Filter by agent, department, or date range as needed.
The report shows AHT per agent and per department. You can compare it across time periods to spot trends — a rising AHT might indicate a training issue or an uptick in complex queries.
Setting an AHT alert:
LiveAgent does not send automatic alerts when AHT exceeds a threshold, but you can set SLA policies to flag tickets that stay open longer than expected. Go to Configuration > SLA > Add SLA Level and define the response and resolution time for your department. This acts as a proxy alert for calls that run long.
Ready to grow your business?
Start your free trial today and see results within days.
3. Setting up first call resolution (FCR) tracking
FCR is not a built-in metric in LiveAgent — there is no automatic flag for “resolved on first contact.” The most reliable workaround is to approximate FCR using ticket tags combined with the resolution report.
Step 1: Create a resolution tag
Go to Configuration > Tags > Add Tag.
Name it something clear, such as resolved-first-contact.
Assign it a color to make it easy to spot in the ticket list.
Step 2: Build an automation rule
Navigate to Configuration > Automation > Add Rule.
Set the trigger: Ticket is resolved AND Ticket has no previous replies from customer after first agent reply.
Set the action: Add tag → resolved-first-contact.
Save the rule.
Step 3: Pull the FCR report
Go to Reports > Tickets.
Filter by the tag resolved-first-contact.
Divide the count by total resolved tickets in the same period. That is your FCR rate.
For customers who contact you across multiple channels, LiveAgent’s omnichannel ticket merging keeps all interactions in one thread. Merge duplicate contacts manually from the ticket view, or set automation rules to merge tickets from the same customer email. This prevents one issue from counting as multiple contacts. See the integrations overview for supported channels.
4. Measuring CSAT automatically after every interaction
LiveAgent can send a CSAT survey automatically after a ticket is resolved or a chat ends. The setup takes about five minutes per channel.
Setting up email CSAT:
Go to Configuration > Email > select your email inbox > Satisfaction Survey.
Toggle the survey on and choose when it sends — immediately after resolution or with a delay (recommended: 2–4 hours).
Edit the survey question. The default is a thumbs up/thumbs down scale. You can switch to a 1–5 star rating or a custom question.
Save and test by resolving a ticket manually.
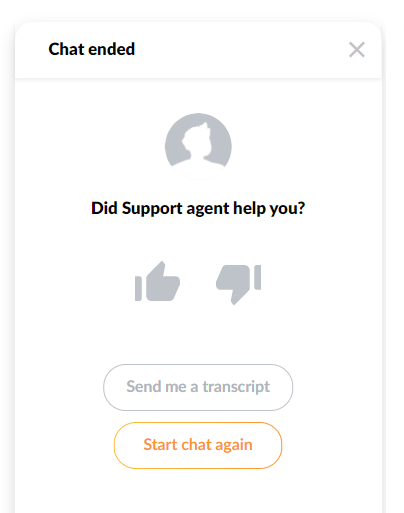
Setting up chat CSAT:
Go to Configuration > Live Chat > select your chat button > Post-Chat Form. Enable the satisfaction question. The same rating options are available as for email. Responses flow into the same report.
Viewing CSAT results:
Navigate to Reports > Satisfaction Ratings. You can filter by agent, department, channel, and date range. The report shows the percentage of positive ratings, total responses, and individual comments if the survey includes an open text field.
Join our newsletter
The latest tips and deals delivered straight to your inbox.
5. Agent utilization and availability reports
Agent utilization tells you what percentage of logged-in time an agent spent actively working versus being available but idle. LiveAgent tracks this through its online status and ticket activity logs.
Where to find it:
Go to Reports > Agent Reports.
Open the Online Time report.
Select the agent and date range.
The report shows total online time, time spent on tickets (calls, chats, emails), and idle time.
Utilization rate = active ticket time / total online time. A healthy range for most call centers is 75–85%. Below 70% suggests overstaffing or a routing problem. Above 90% is a burnout risk.
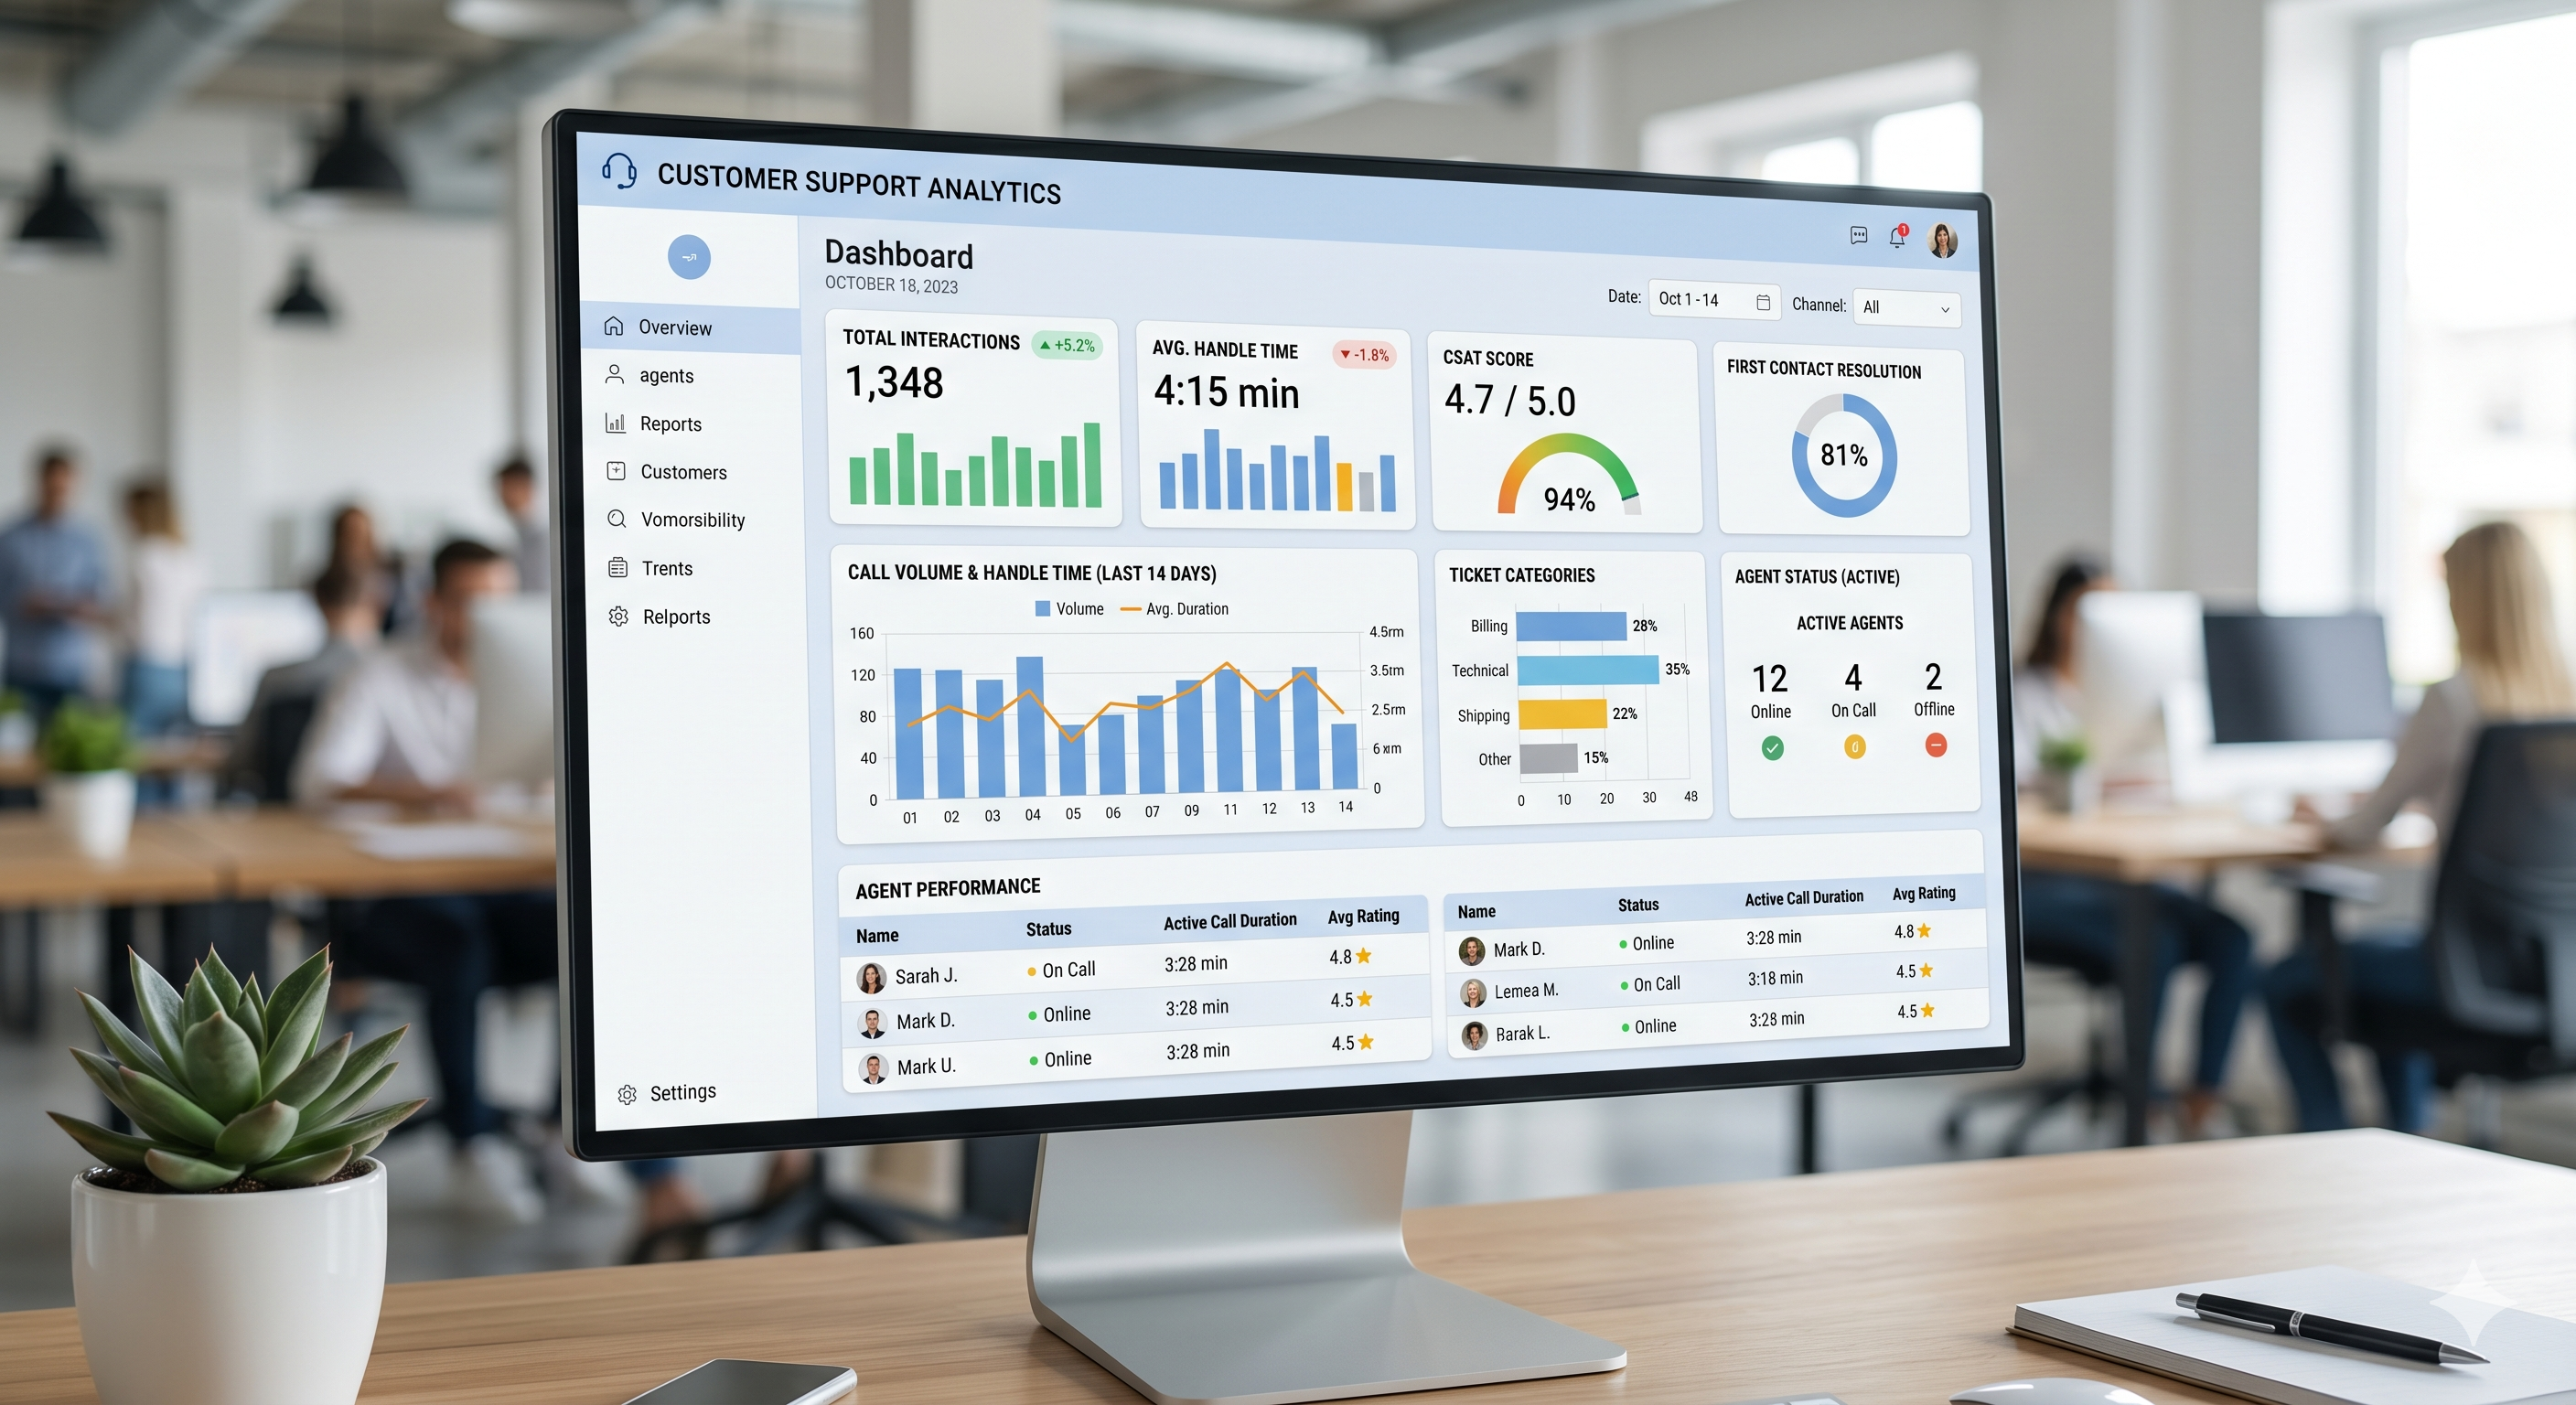
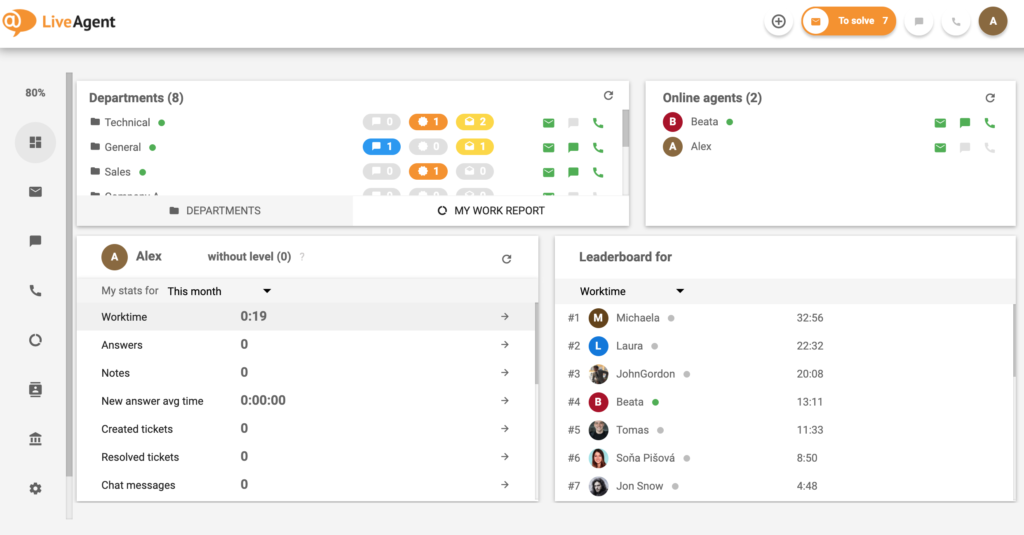
To see availability in real time, check the Dashboard view in LiveAgent. The live agent status panel shows who is online, who is on a call, and who is idle at this moment.
6. Building a weekly KPI dashboard in LiveAgent
LiveAgent does not have a single customizable KPI dashboard widget that combines all metrics in one screen. Instead, the most effective approach is to build a weekly reporting routine using three core reports, then export them for management.
The three reports to combine each week:
Call Reports > Average Call Duration — for AHT
Reports > Satisfaction Ratings — for CSAT
Reports > Agent Reports > Online Time — for agent utilization
Step-by-step weekly export:
Open each report and set the date filter to the past 7 days.
Click the Export button (top right of each report view). Choose CSV or PDF.
Combine the three exports into a single spreadsheet for your management summary.
Include the FCR tag count from Reports > Tickets filtered by the resolved-first-contact tag.
For a full breakdown of what LiveAgent reporting features cover, visit the reporting features
page.
7. Automating monthly reports: set it and forget it
LiveAgent supports scheduled report delivery. Instead of pulling reports manually at the end of each month, set up automatic delivery to your inbox or your manager’s inbox.
How to schedule a report:
Open any report in the Reports section.
Click the Schedule Report button (or the clock icon, depending on your version).
Set the frequency: daily, weekly, or monthly.
Choose the delivery format: CSV or PDF.
Enter the recipient email addresses. You can add multiple recipients.
Save. The report will send automatically at the configured interval.
Scheduled reports run on the reporting period you set. A monthly report configured on the 1st will cover the previous calendar month. You can edit or pause schedules at any time from Reports > Scheduled Reports.
This setup eliminates the end-of-month scramble. Your management report arrives automatically, already formatted, with no manual export required.
Quick reference: metrics and where to find them in LiveAgent
Metric
Where in LiveAgent
How it’s calculated
What to configure
AHT
Reports → Call Reports → Average Duration
Total handle time / number of calls
Set benchmark alert in SLA settings
FCR
Reports → Tickets → Resolution Tags
Tickets tagged “resolved-first-contact” / total tickets
Create tag + automation rule
CSAT
Reports → Satisfaction Ratings
Positive ratings / total ratings submitted
Enable survey in email/chat channel settings
Agent Utilization
Reports → Agent Reports → Online Time
Active time / total logged-in time
Define working hours in agent profile
First Response Time
Reports → Overview → Avg. First Reply Time
Time from ticket creation to first reply
Set SLA policy per department
Share this article
Frequently asked questions
Yes. LiveAgent tracks call duration automatically for every inbound and outbound call. The Average Call Duration report in Reports > Call Reports shows AHT per agent and per department. No additional configuration is needed to start collecting data.
Yes, with ticket merging. When a customer contacts you by email and then follows up via chat, LiveAgent can merge both into one ticket thread. This keeps the interaction count accurate and prevents a single issue from registering as multiple contacts. Use automation rules to merge tickets from the same email address, or merge them manually from the ticket view.
Go to Configuration > Email (or Live Chat) > select your inbox > Satisfaction Survey. Toggle the survey on and set a delivery delay. Edit the question and rating scale, then save. The survey fires automatically after each resolved ticket or ended chat.
Yes. Every report in LiveAgent includes an Export button. Supported formats are CSV (opens in Excel) and PDF. You can also schedule automated delivery of any report in either format to one or more email addresses.
Yes. The LiveAgent Dashboard provides a live view of current ticket queue, agent status, active chats, and ongoing calls. It updates in real time and requires no configuration to activate.
Open Reports > Agent Reports and select the agents and date ranges you want to compare. You can filter by department and view metrics such as tickets resolved, average reply time, and online hours. Use the date range comparison feature to set two periods side by side.
7 Call Center Problems Your Metrics Are Hiding - And How to Fix Them | LiveAgent
High AHT, low FCR, rising abandon rate - your call center metrics are telling you something. Here are 7 common problems they reveal and the fixes that actually ...